Customer Updates: Stryker Network Disruption > Read Now
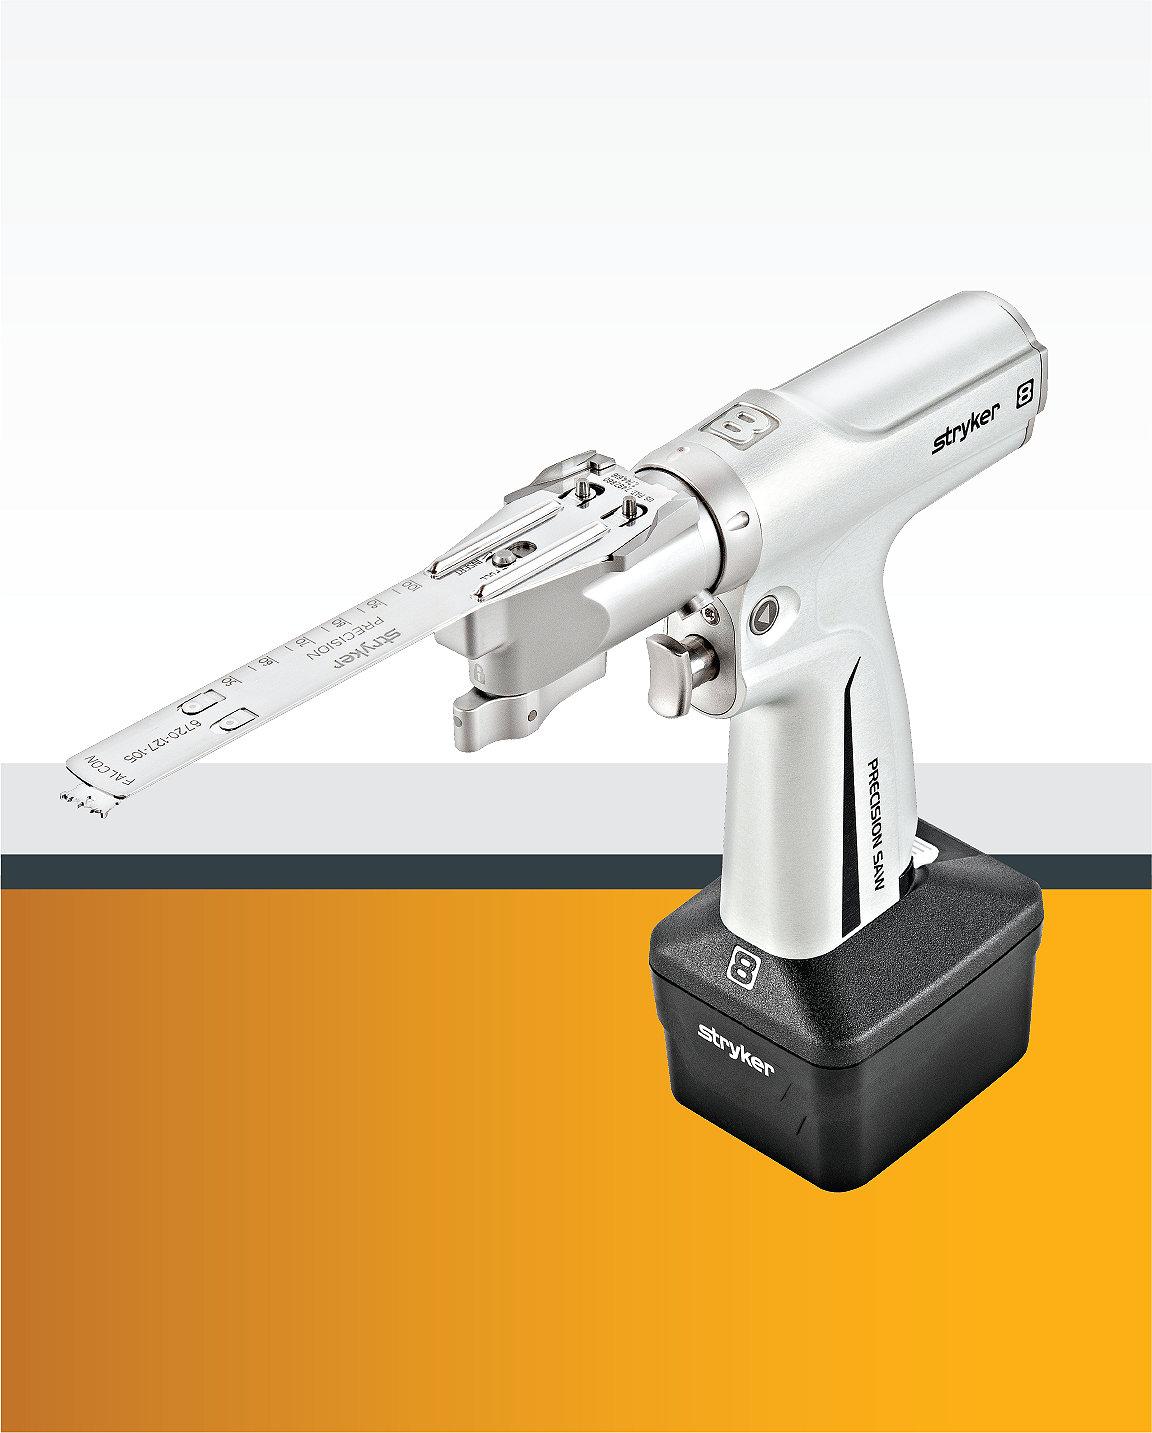
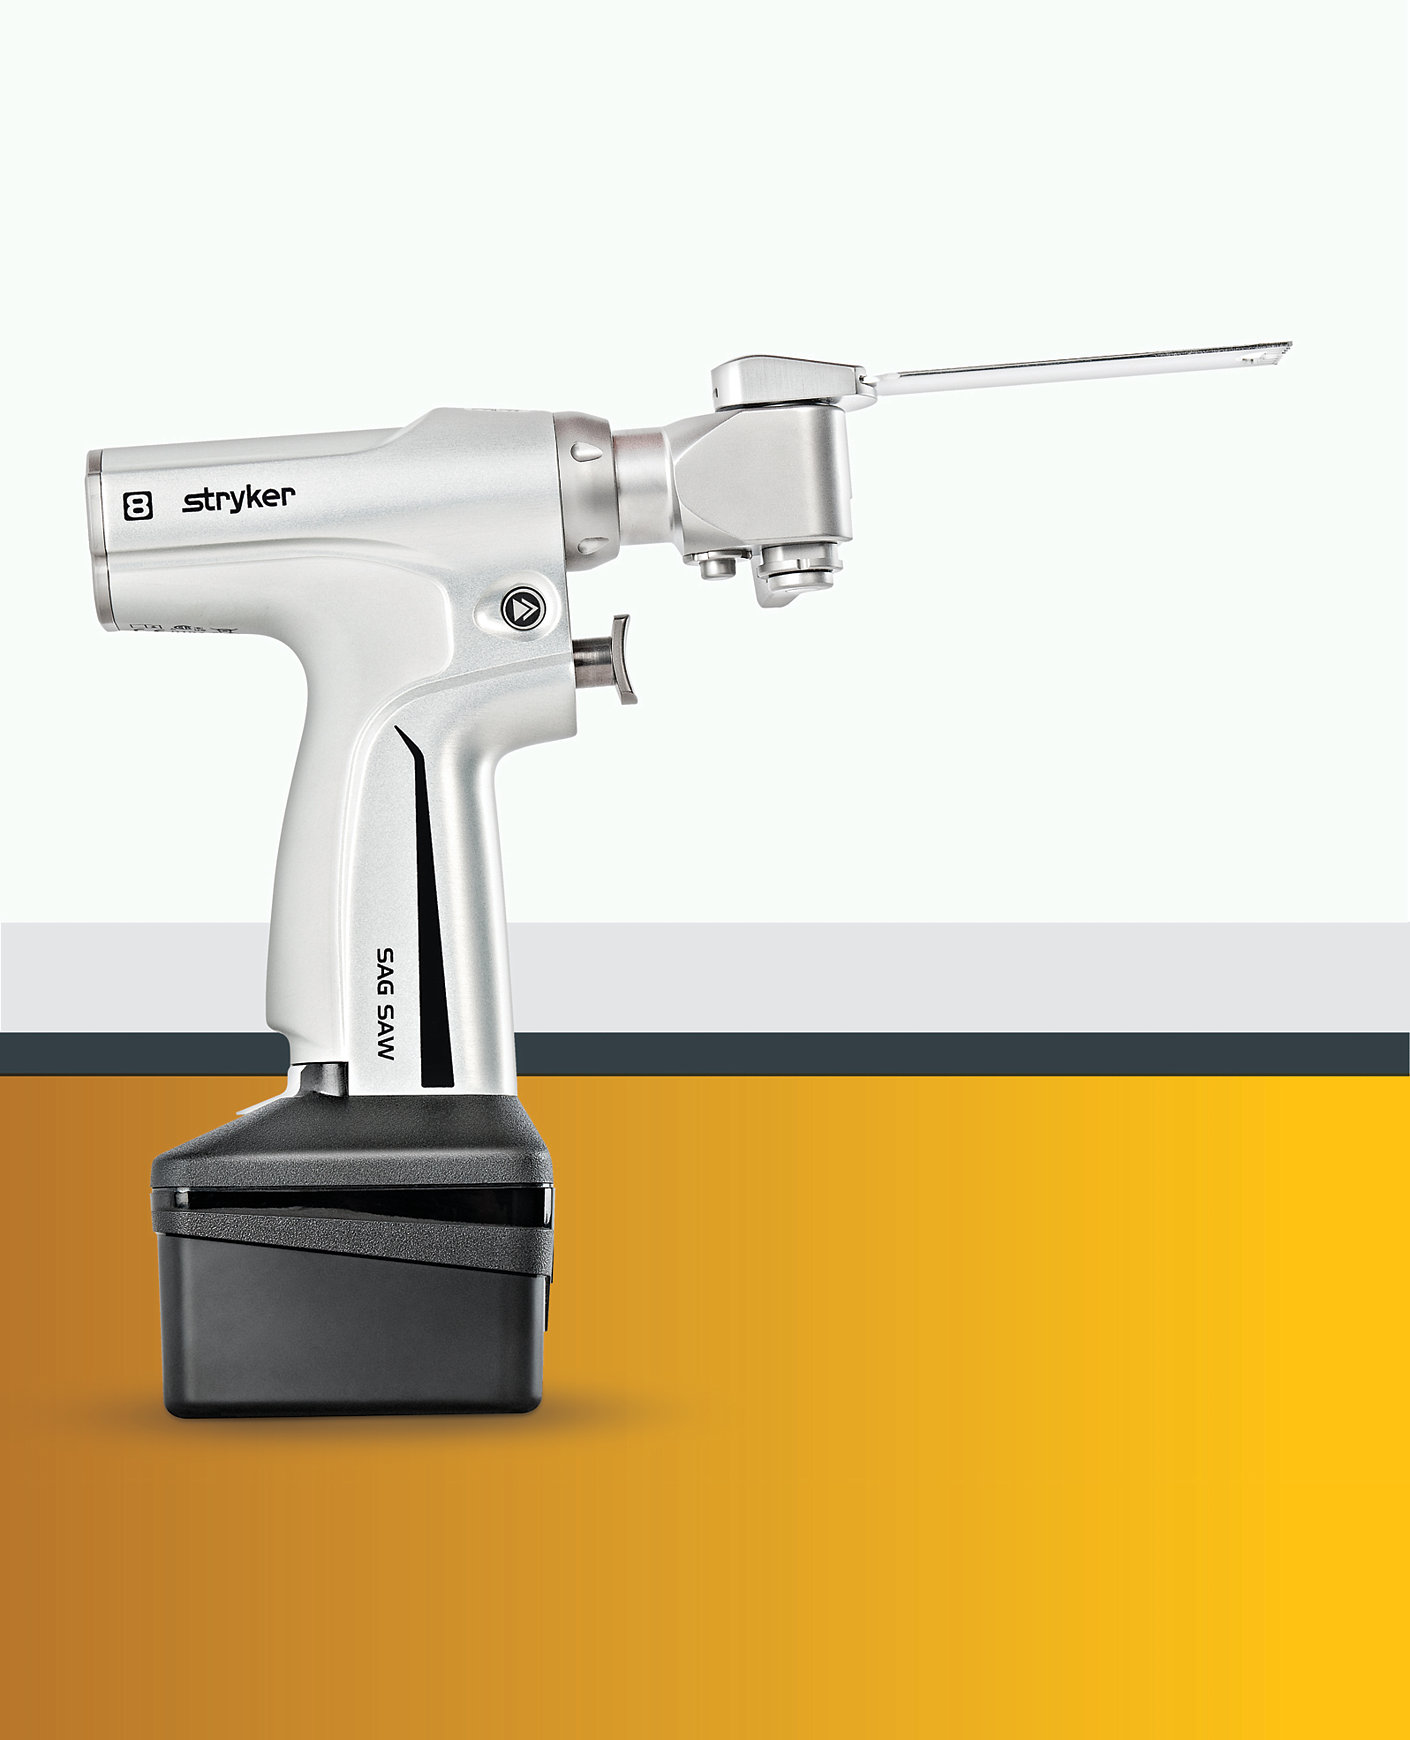
System 8 EZout
Powered Acetabular Revision System
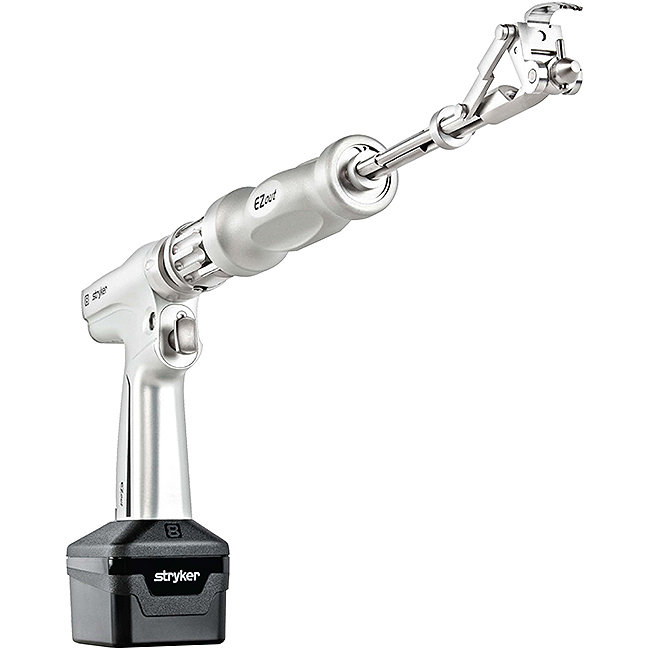
System 8 EZout Powered Acetabular Revision System
System 8 EZout
____________________________________________
Precision engineering provides predictable cut paths, so you can have confidence in every cut.
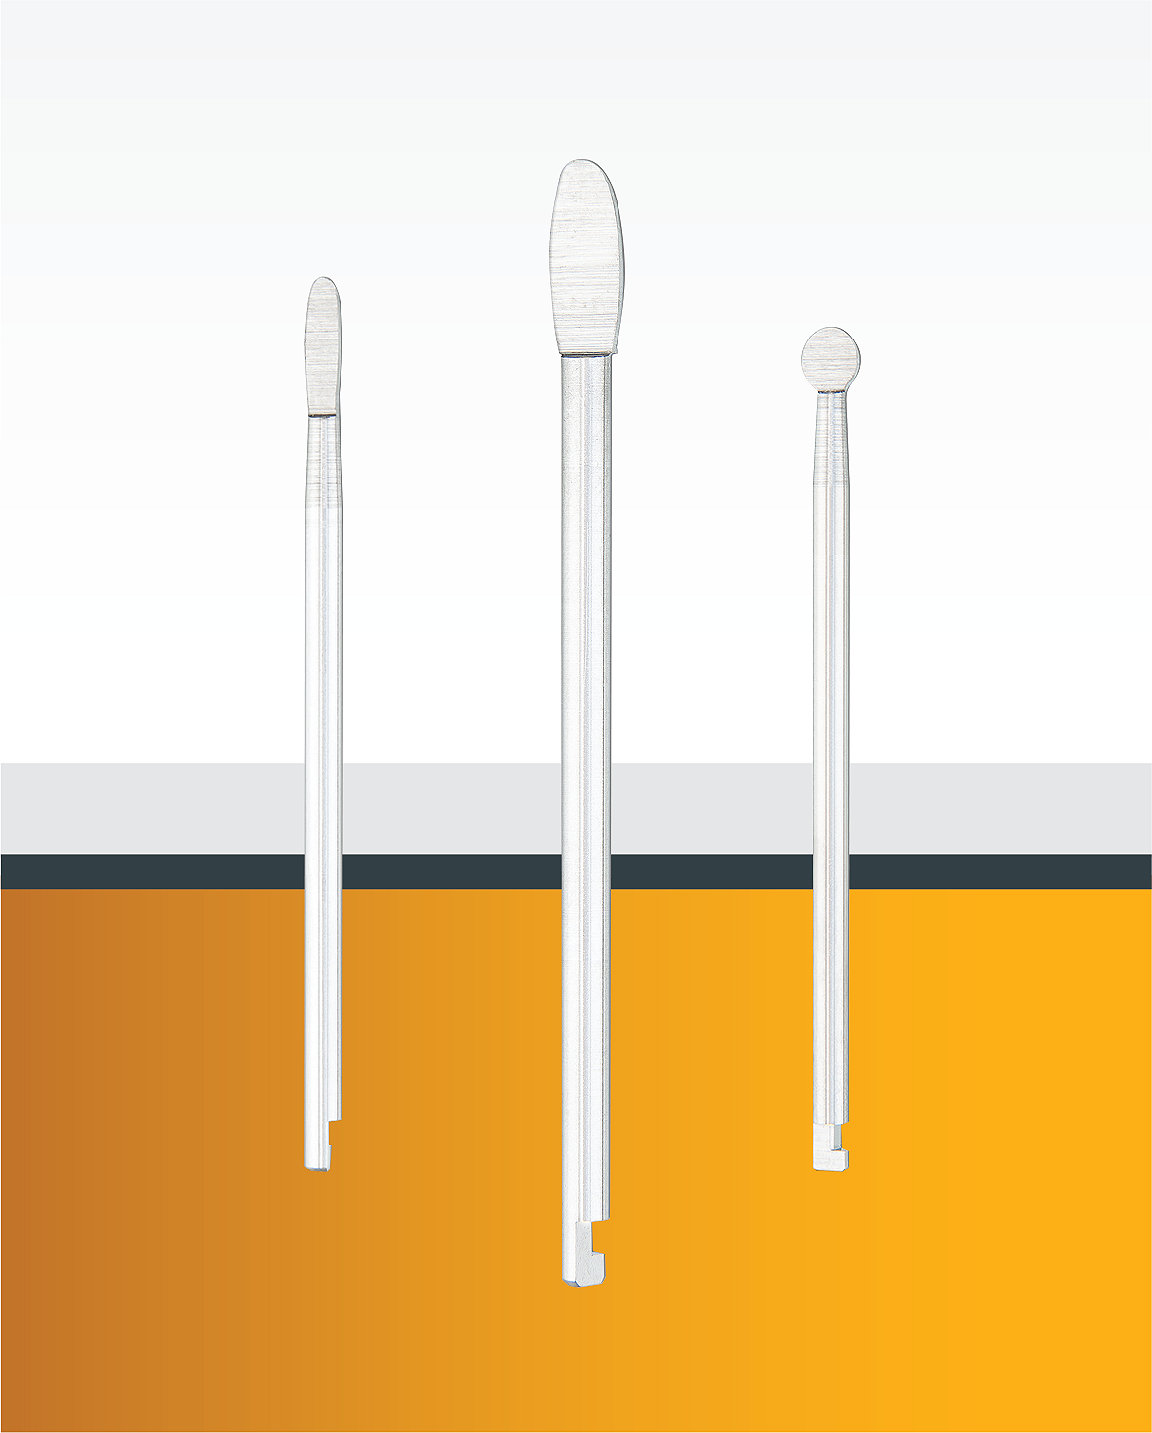
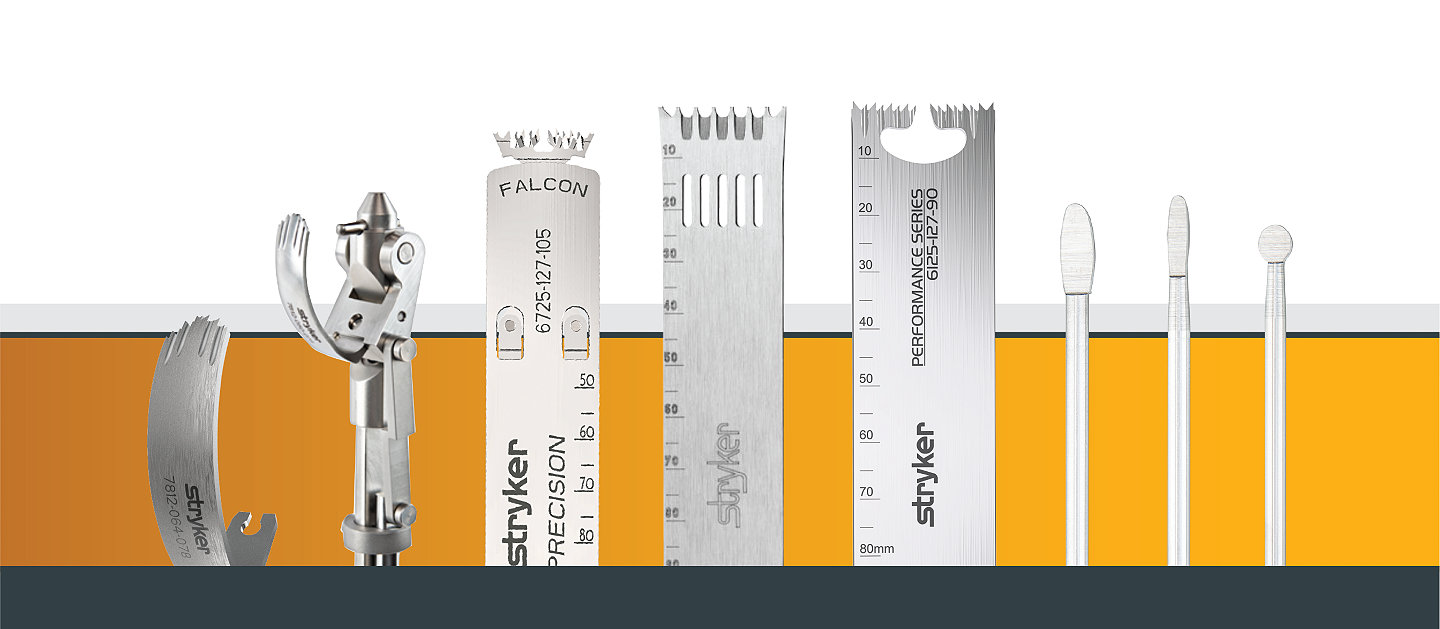
- Centering Plugs help ensure the attachment is accurately placed in the cup’s center
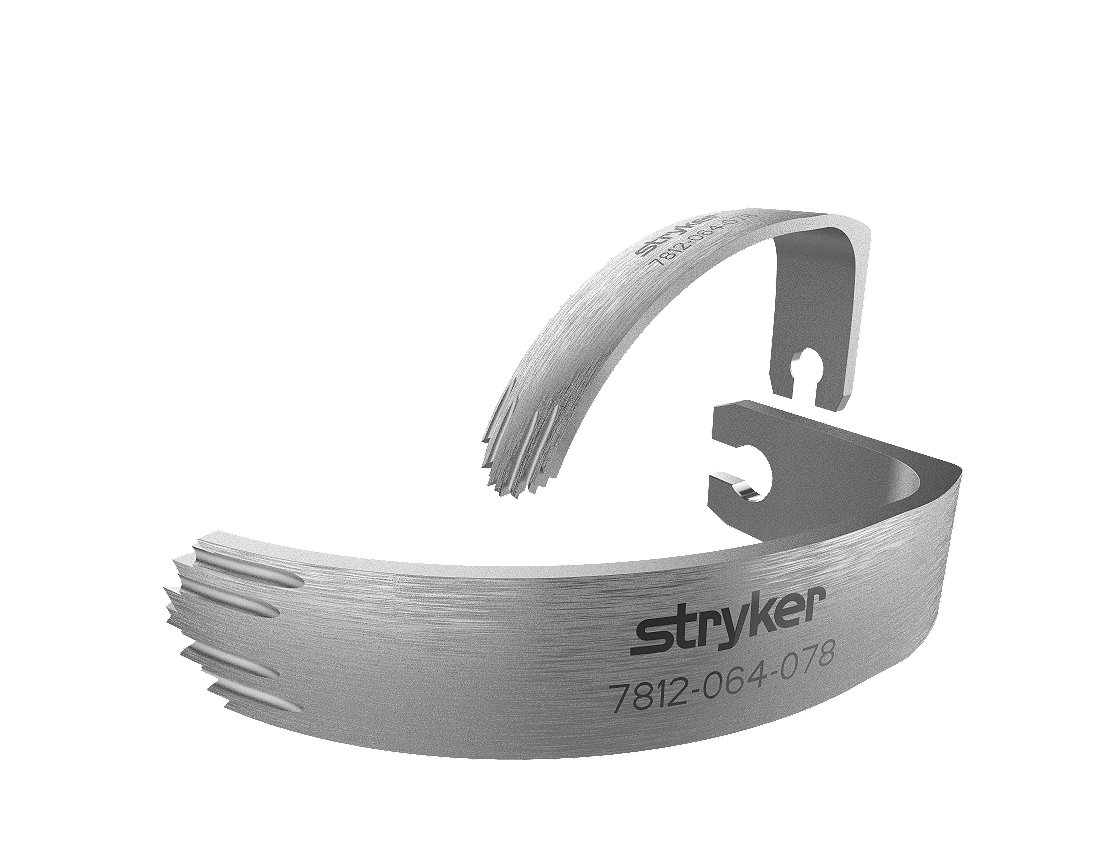
- Dual curvature blades follow the exact contour of the cup
- The blade’s oscillating motion results in a smooth cut plane
- Has shown to produce 83% less stress on the acetabular interface compared to manual tools, reducing the potential for fracture or damage.1
- Has shown to result in 60% less material left on the cup after removal by experiencedsurgeons.1
- Requires a narrower operative pace than manual tools, fitting under the femoral head and surrounding tissue.1
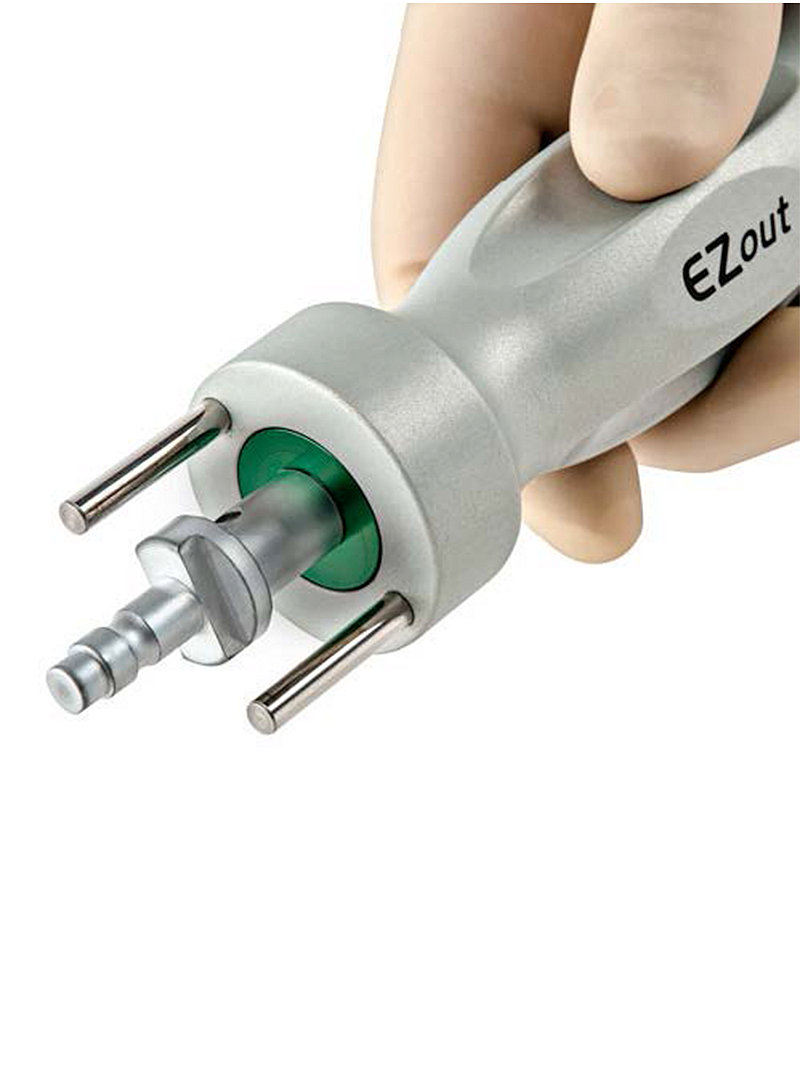
Step 1
Remove the liner/screws
Also, identify whether any fins or spikes are present and will need to be cut around.
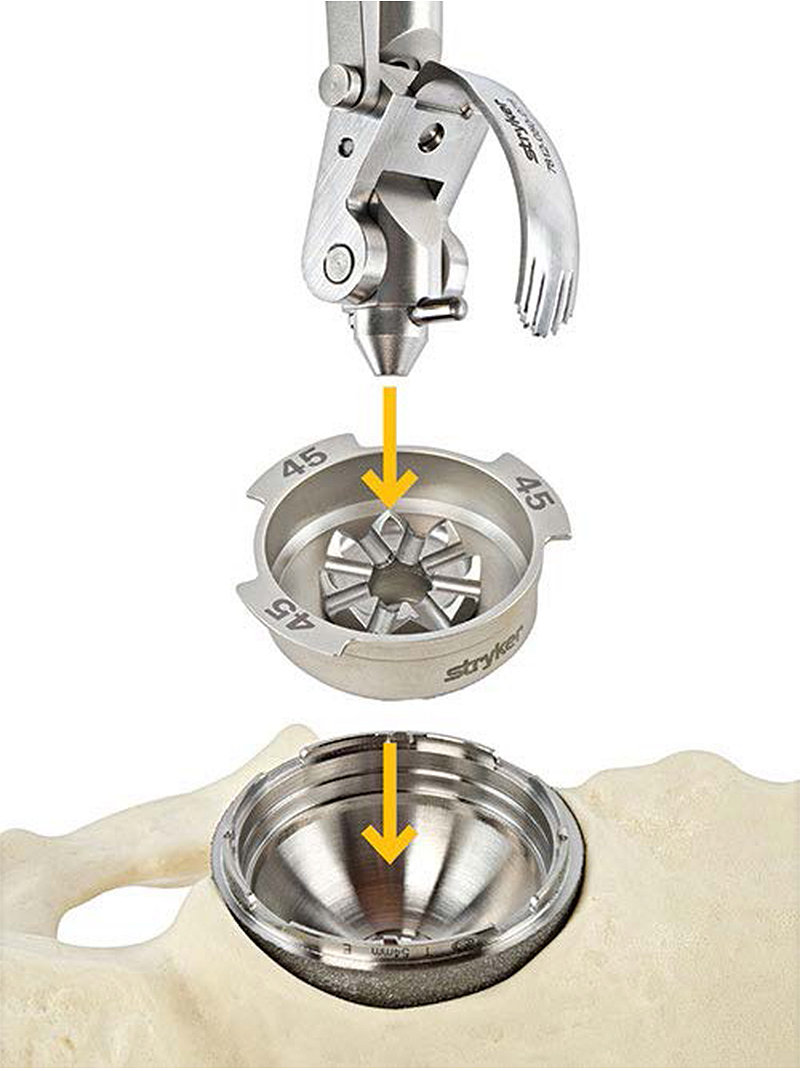
Step 2
Size the centering plug
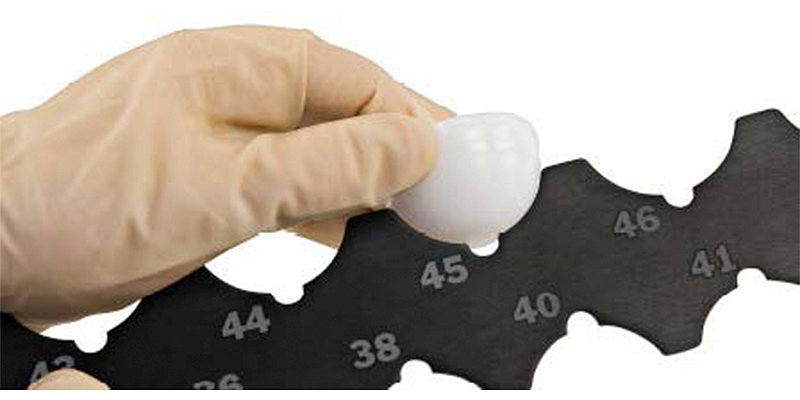
The centering plug size is determined by the outer diameter of the liner. Use the plug sizing template to select and install the appropriate centering plug.
Step 3
Size the blade
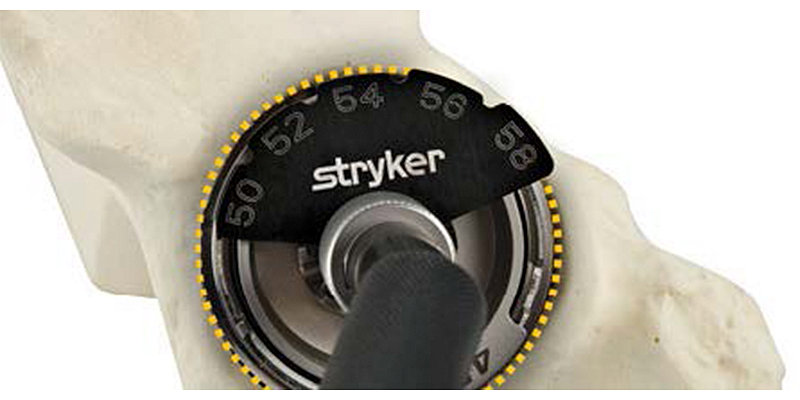
The blade size is determined by the outer diameter of the cup. Determine the blade size by comparing the edge of the implanted cup to the blade sizing tool.
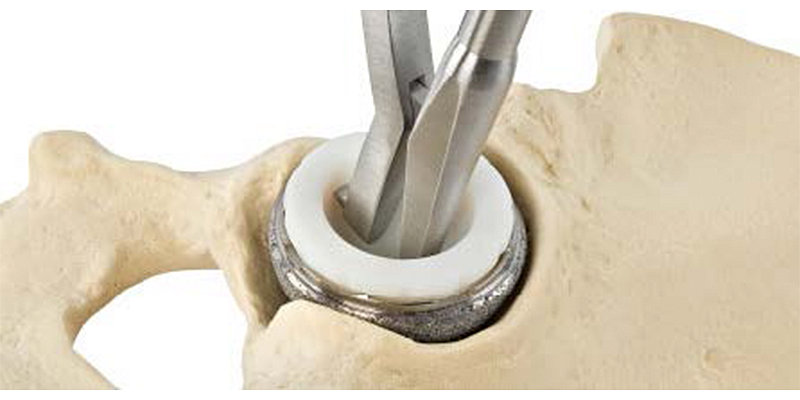
Step 4
Remove the cup
Pull the attachment handle toward the handpiece to fully retract the blade and insert the attachment into the centering plug.
Step 4
Remove the cup
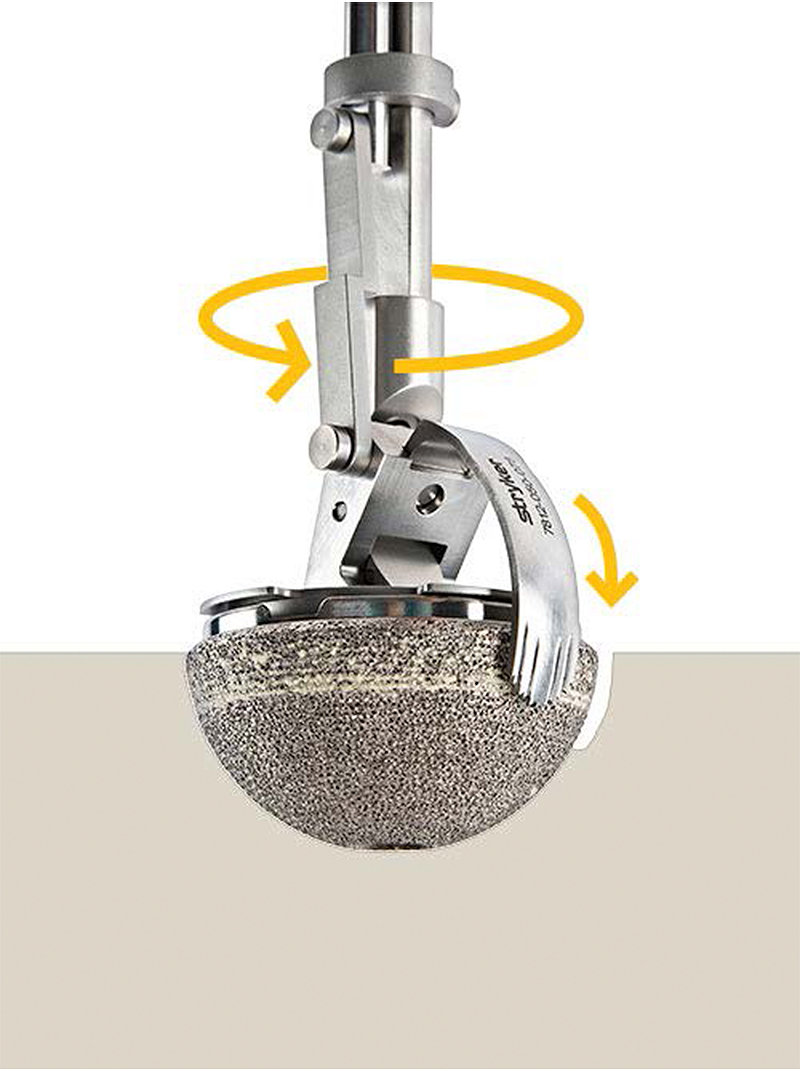
Fully retract the blade, then engage the trigger to oscillate the blade. Engage the blade with the bone by gently sliding the attachment handle toward the cup while vigorously rotating the handle back and forth.
Step 4
Remove the cup
Always verify that the short blade can move freely around the entire circumference of the cup before switching to the long blade. Ensure the green indicator ring is flush with the back of the attachment to confirm full depth.
Thank you
1.Kwong, L., Billi, F., Keller, S., Kavanaugh, A., Luu, A., & Paprosky, W. (2019). A Comparative Study Between the Stryker EZout Powered Acetabular Revision System and the Zimmer Explant Acetabular Cup Removal Systems. Techniques In Orthopaedics, Publish Ahead of Print. doi: 10.1097/bto.0000000000000409
SMACC 2021-28368 / SMACC 2021-28365